
- Only the website administrator (currently me) and a few others have the rights to do this.
However, to get this site up and running quickly what we really need is CONTENT! So, we need each section to write something for each of the page templates currently added for their section.
For anyone who is a site administrator, this is How to:
- Upload a new page
- Link it to the main menu
- Add it to the page’s side menu box
(For the purposes of this instruction, this will be a new “Important Information” page that needs to go under the “Scouts” Main Menu item.)
Login to the backend by clicking on the “Administration” link in the top right of the page. Enter your username and password.
When first logged in, you will be in the “Dashboard” section.
Notice the menu system on the left. This is your main navigation while in the back end.
Hover your mouse over “Pages” and then Click on “Add New”.
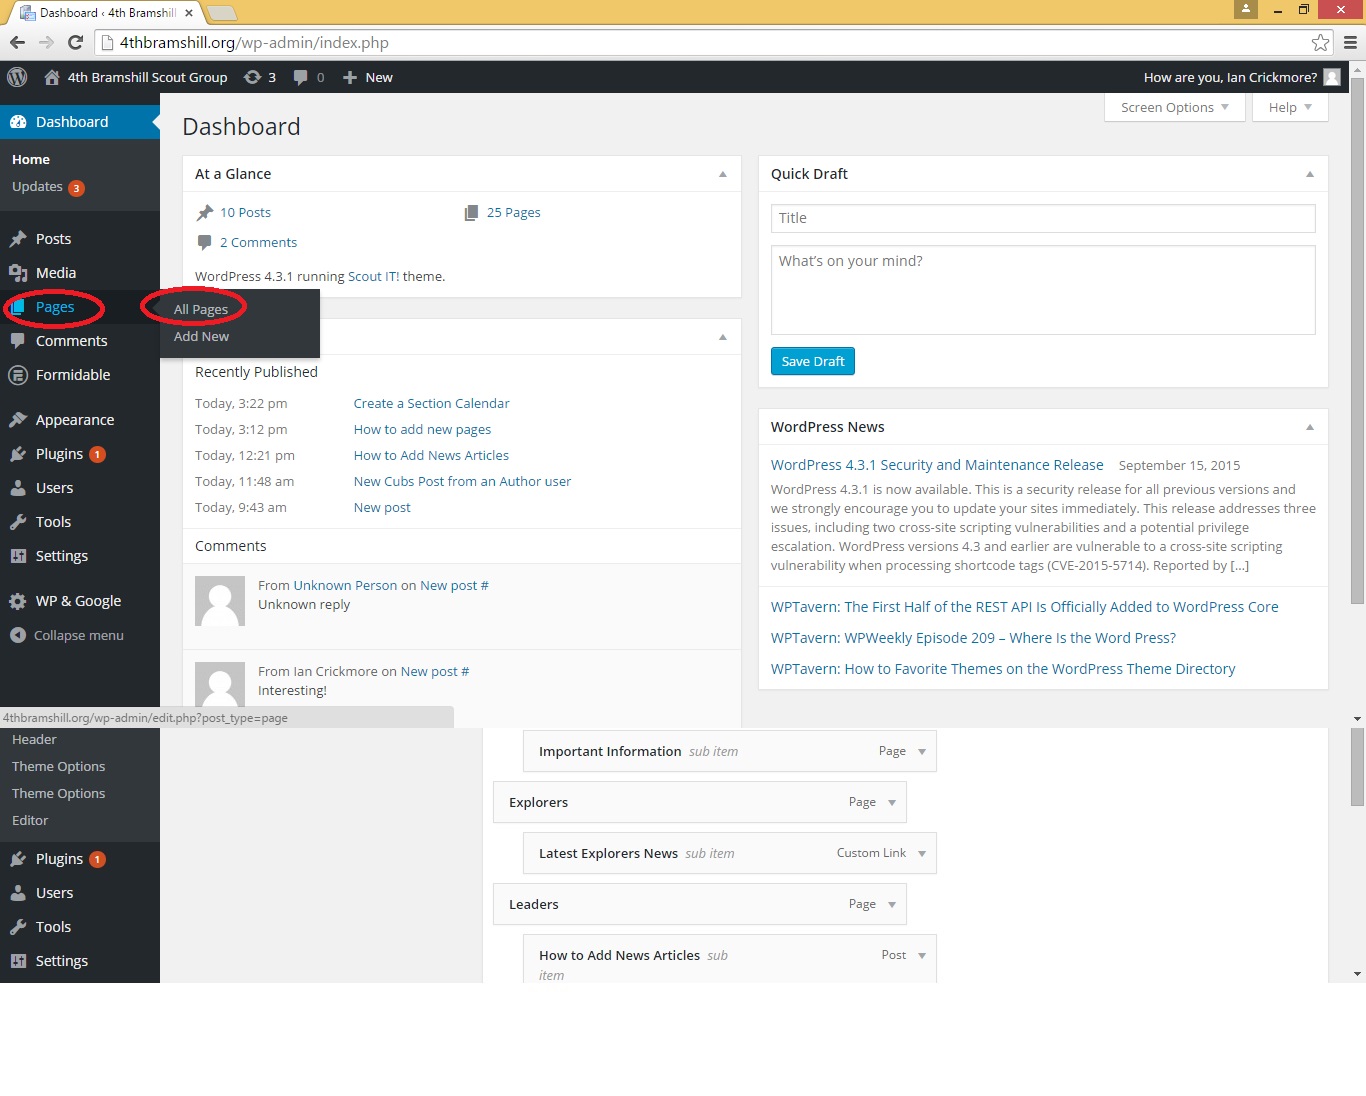
In the previous page, if you clicked on “Pages” instead of “Add New”, this takes you to a list of all the static pages in the site.
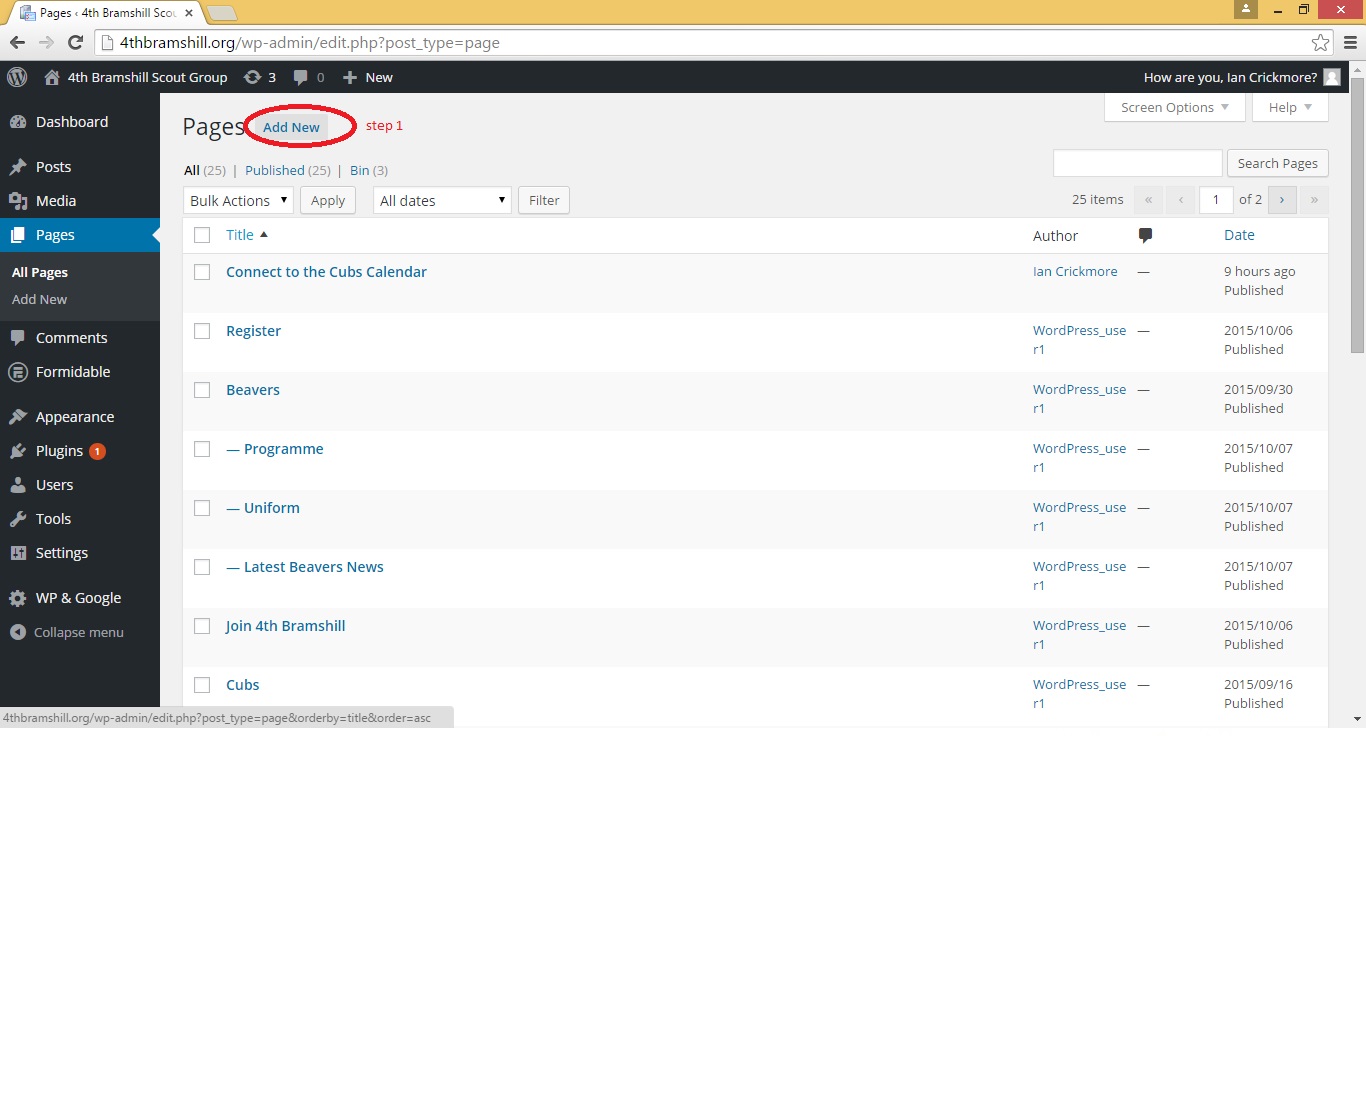
Click on the “Add New” button at the top of this page now. (If you clicked on “Add New” in the previous page, you will not see this screen!)
To edit any previously created page, you would scroll through this list and click on the page name. The rest of the editing of the page is the same whether it is a new or existing page.
This will take you to your New Page Editor screen.
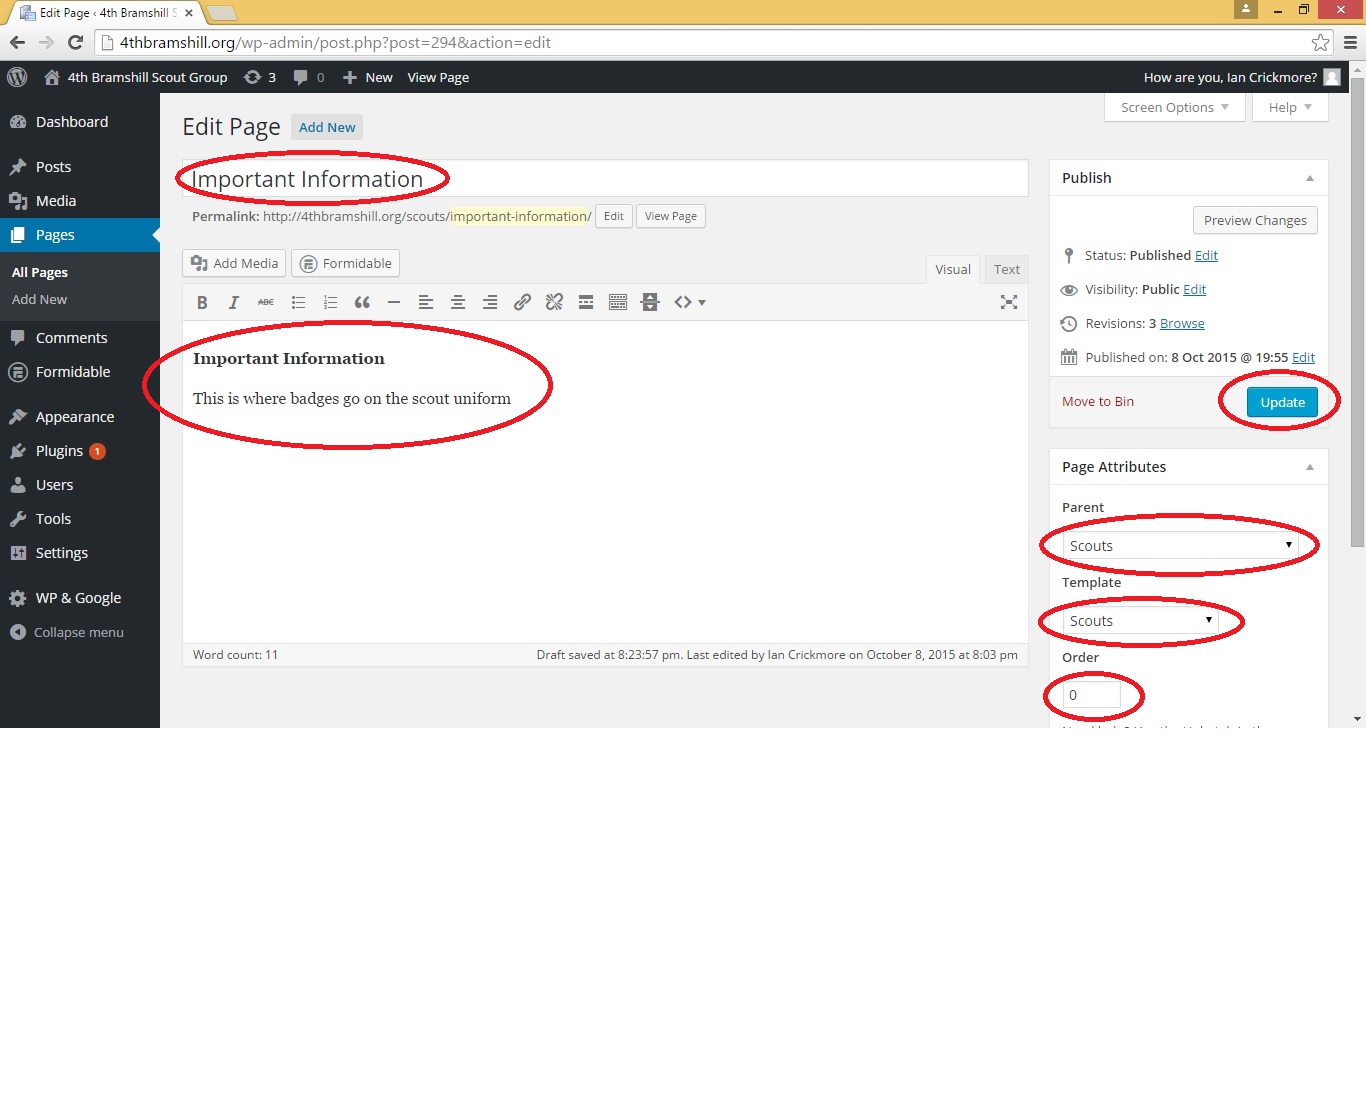
Where it says “Enter Title Here”, Enter the title of your page. (Don’t make it too long as it has to fit in the Main Menu Navigation bar on the website.)
For this example my title will be “Important Information”
Find the “Page Attributes” section on the right.
Change the “Parent” drop down to be the menu item that you want this to come under (in this example, it is “Scouts”).
Change the “Template” drop down to be the same (in this example it is “Scouts”).
The “Order” number determines which position on the menu this page will show. 1 is top or left and higher numbers are further down or right. In this example, I will make this item 5. (You can change this later if required)
Now to add some actual content to the page.
Type your text, using the editor to make items Bold etc in a similar way you would use MS Word.
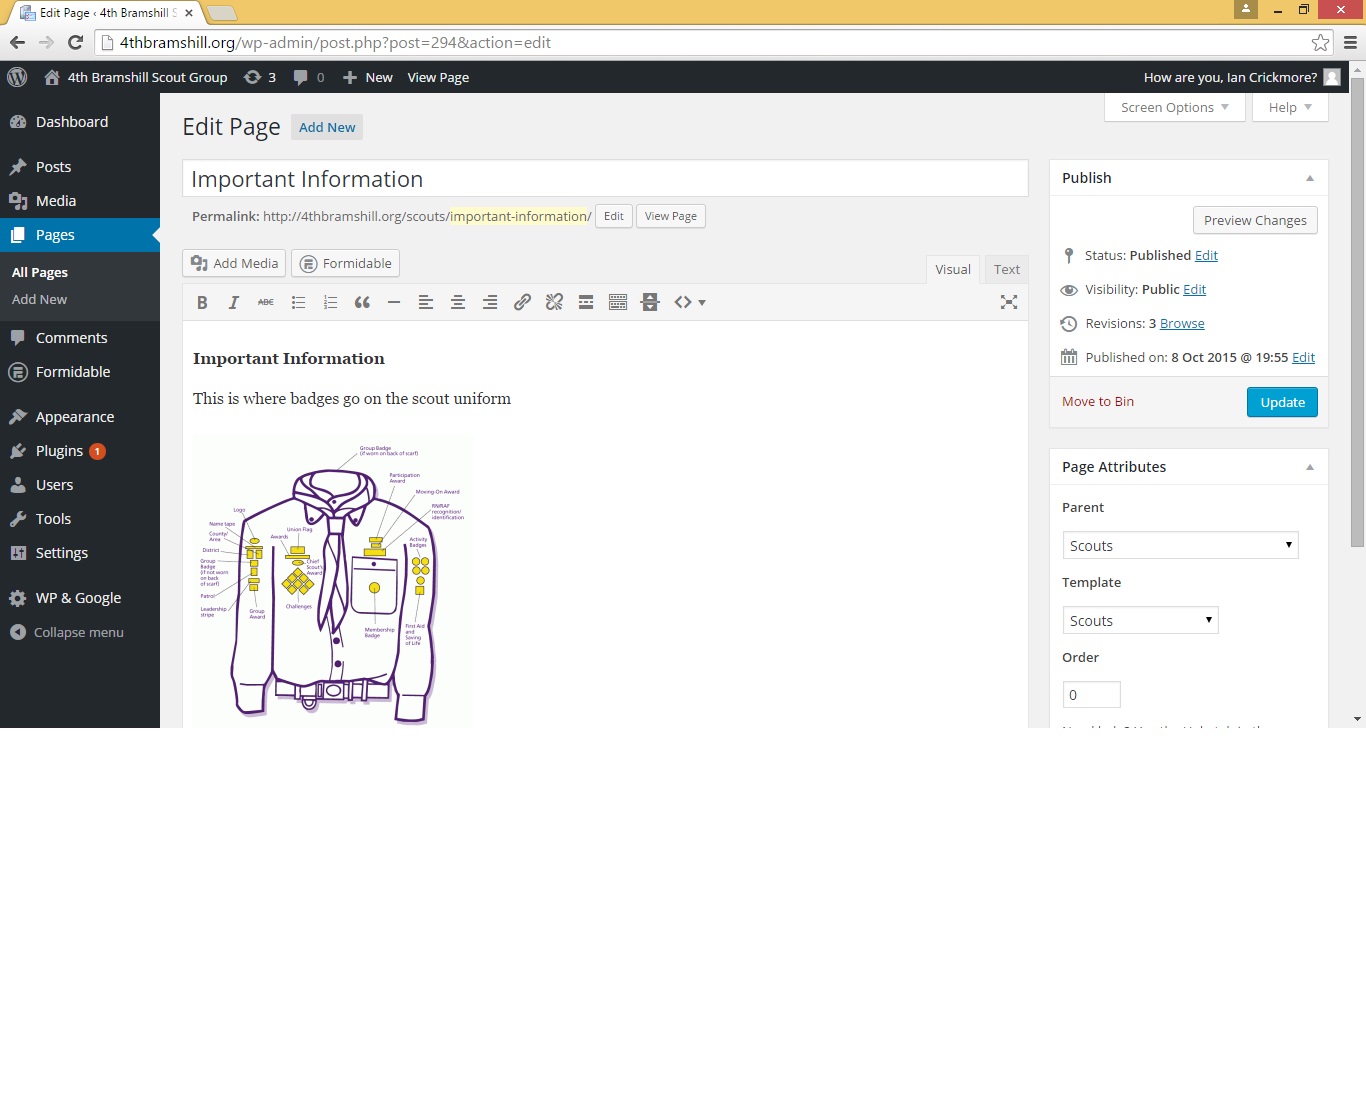
If you have any images that you want to use on your page, position your cursor where you want the image to go and click on the “Add Media” button just above the editor.
This will load up the Media Library.
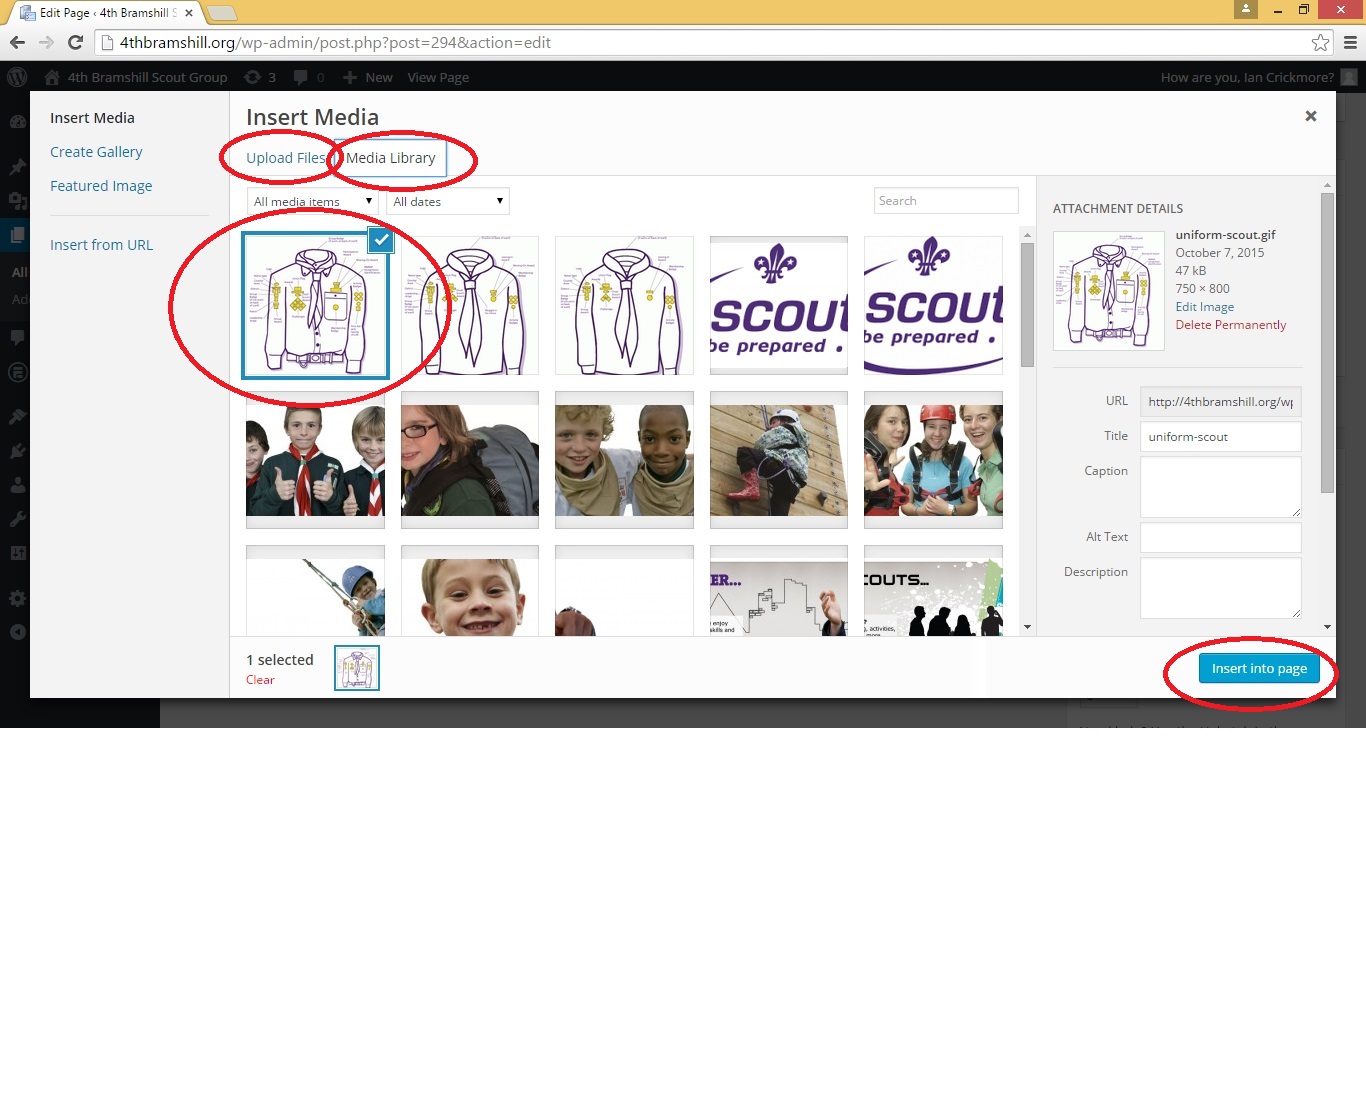
Either choose an image that is already uploaded or upload a new image (by clicking Upload files and following the instructions).
When you have the image selected, you can ignore the other fields. Just click the “Insert into Page” button on the bottom right.
The image will then appear in your editor with your text.
If you need it to look different, click the image and then on either the alignment images that appear or the pencil icon will load up an image editor menu.
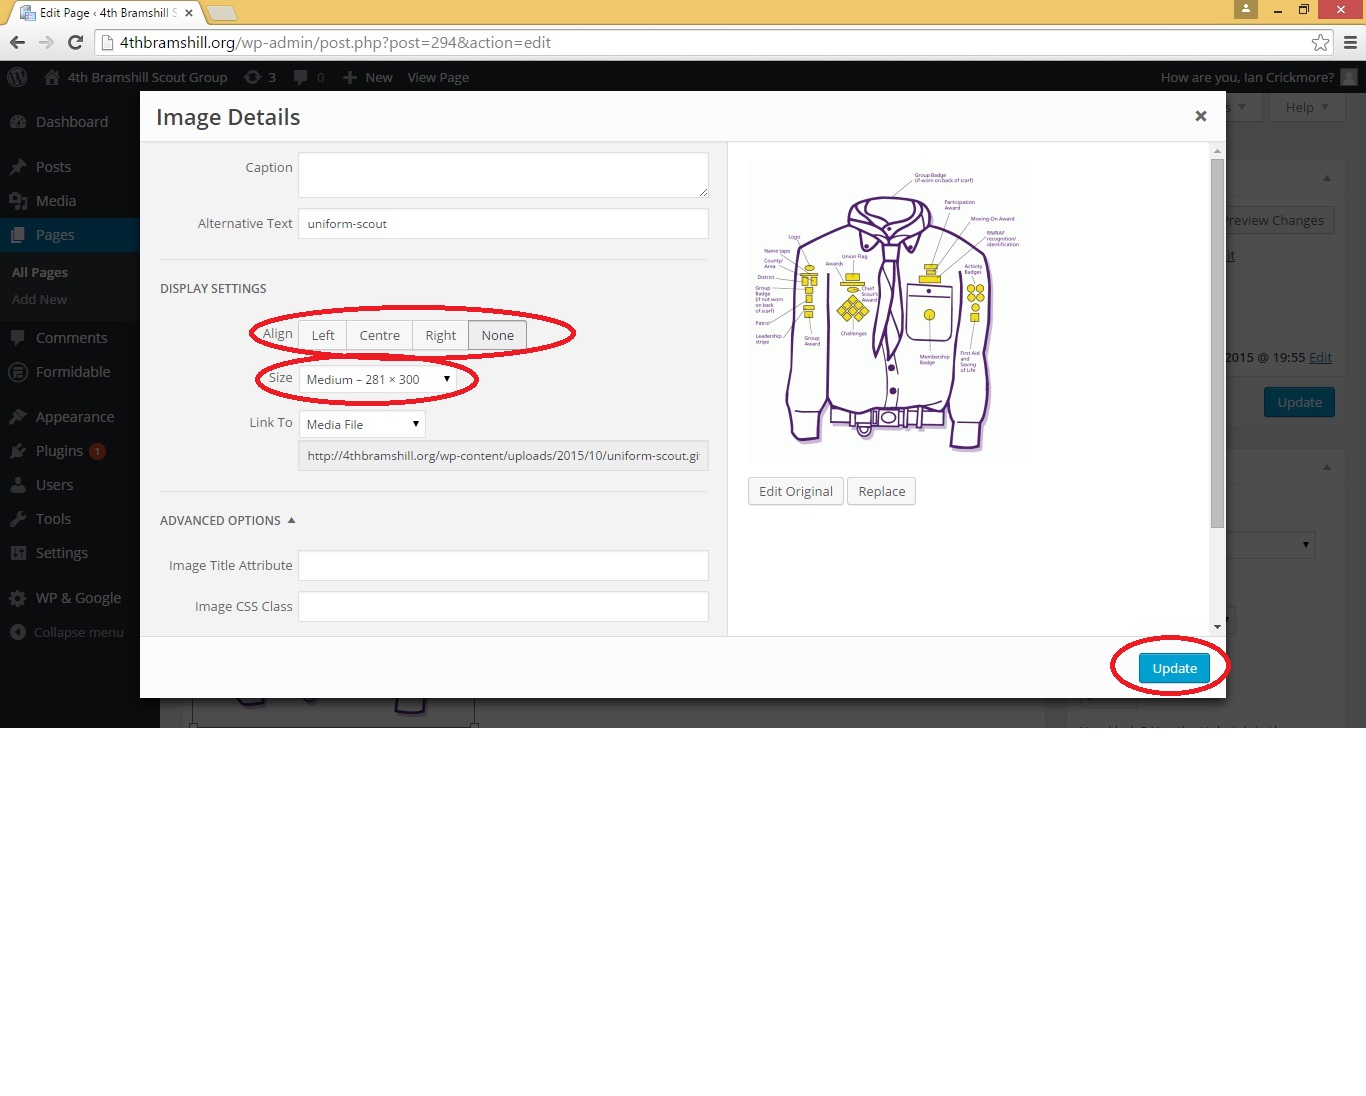
Click Update when you are finished.
When you are happy with your new page, click on the “Preview Page” button to view your page in a new browser tab. To actually SAVE your page, you MUST click on the blue “Update” button.
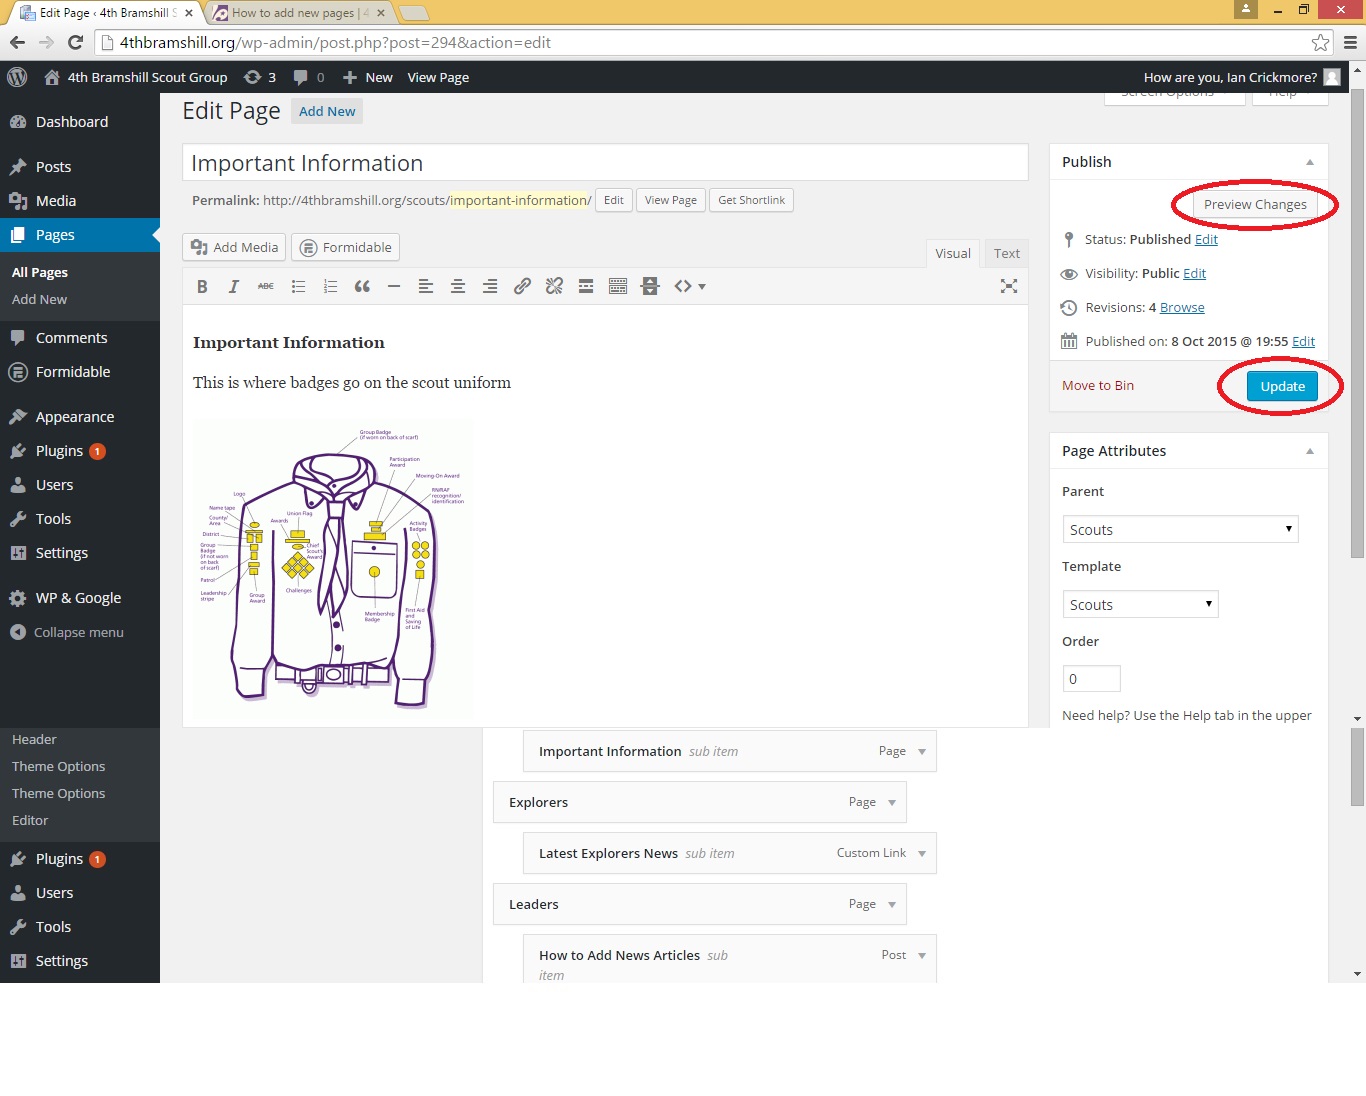
Your page is now published!
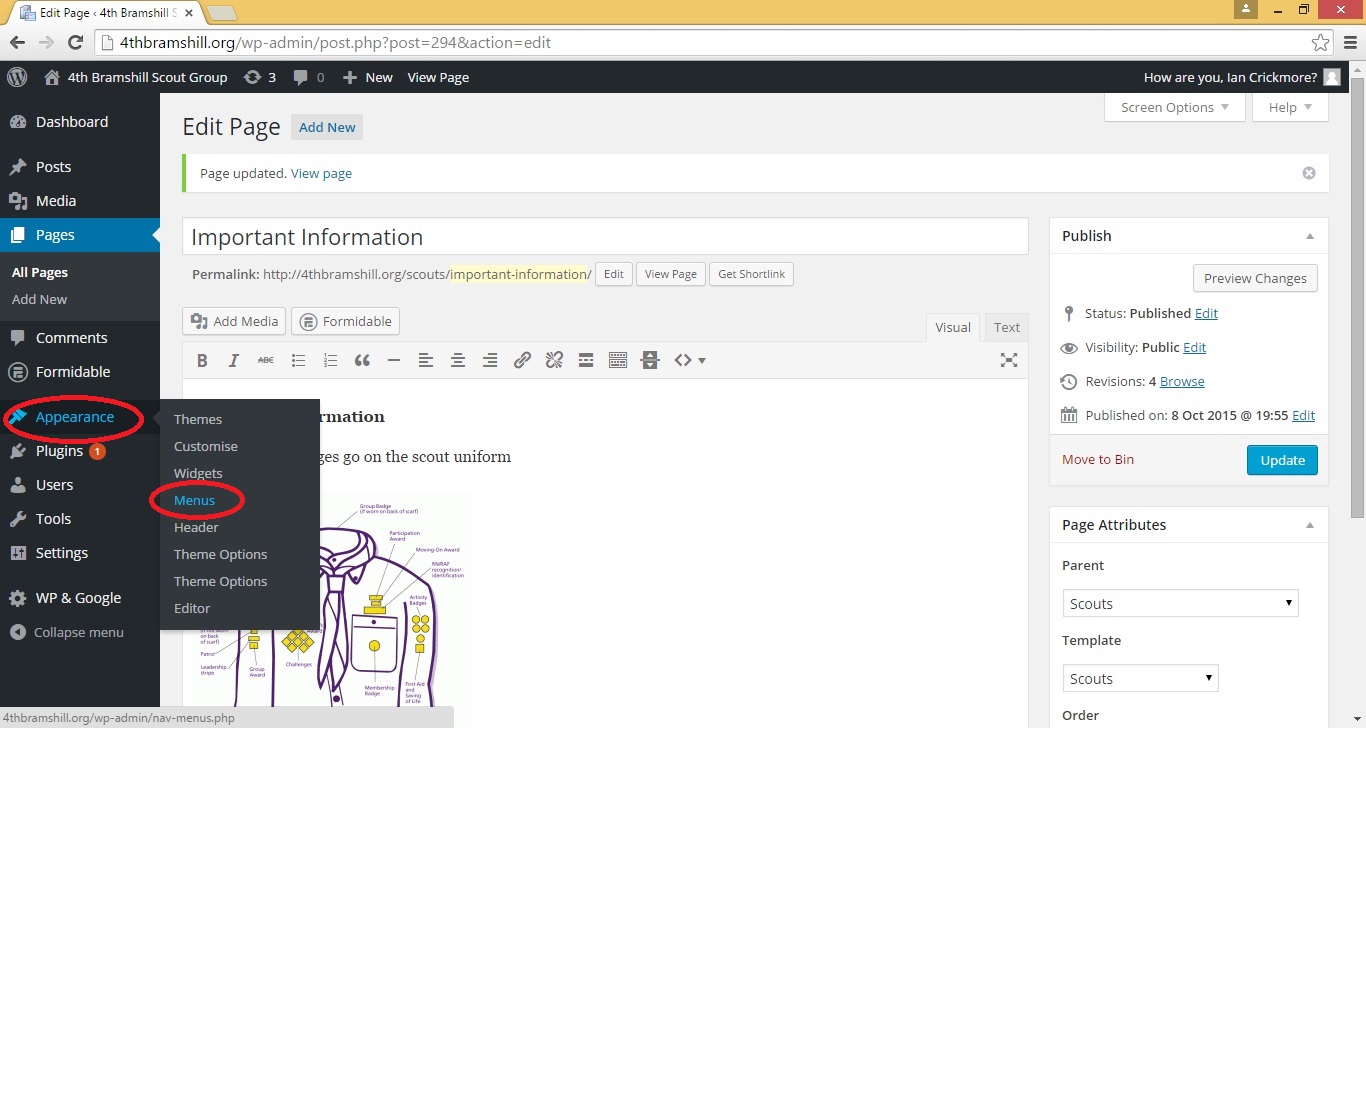
BUT, you can only get to it if you know it’s URL so now you need to add it to the Menu Structure.
Hover your mouse over the “Appearance” menu on the Left, and click on the “Menus” subitem that appears.
This will bring up the “Menu editor” screen.
For this example, we want to edit the “Main Menu” to add this to the Top menu and we also want to edit the “Scouts Menu” to add this to the menu on the right of the Scouts pages.
First let’s edit the Main Menu. This can be a bit fiddly so bear with me.

In the “Select a menu to edit” near the top, change it to “Main Menu (Main Menu, Menu on 404 page)” and click the “Select” button.
This loads up the menu contents below.
On the left you have all the items on the website and on the right you have the Main Menu Structure. (The indents mean they are submenus of the item above it.)
In the items on the left, ensure “Pages” is expanded (it is by default) and click View All.
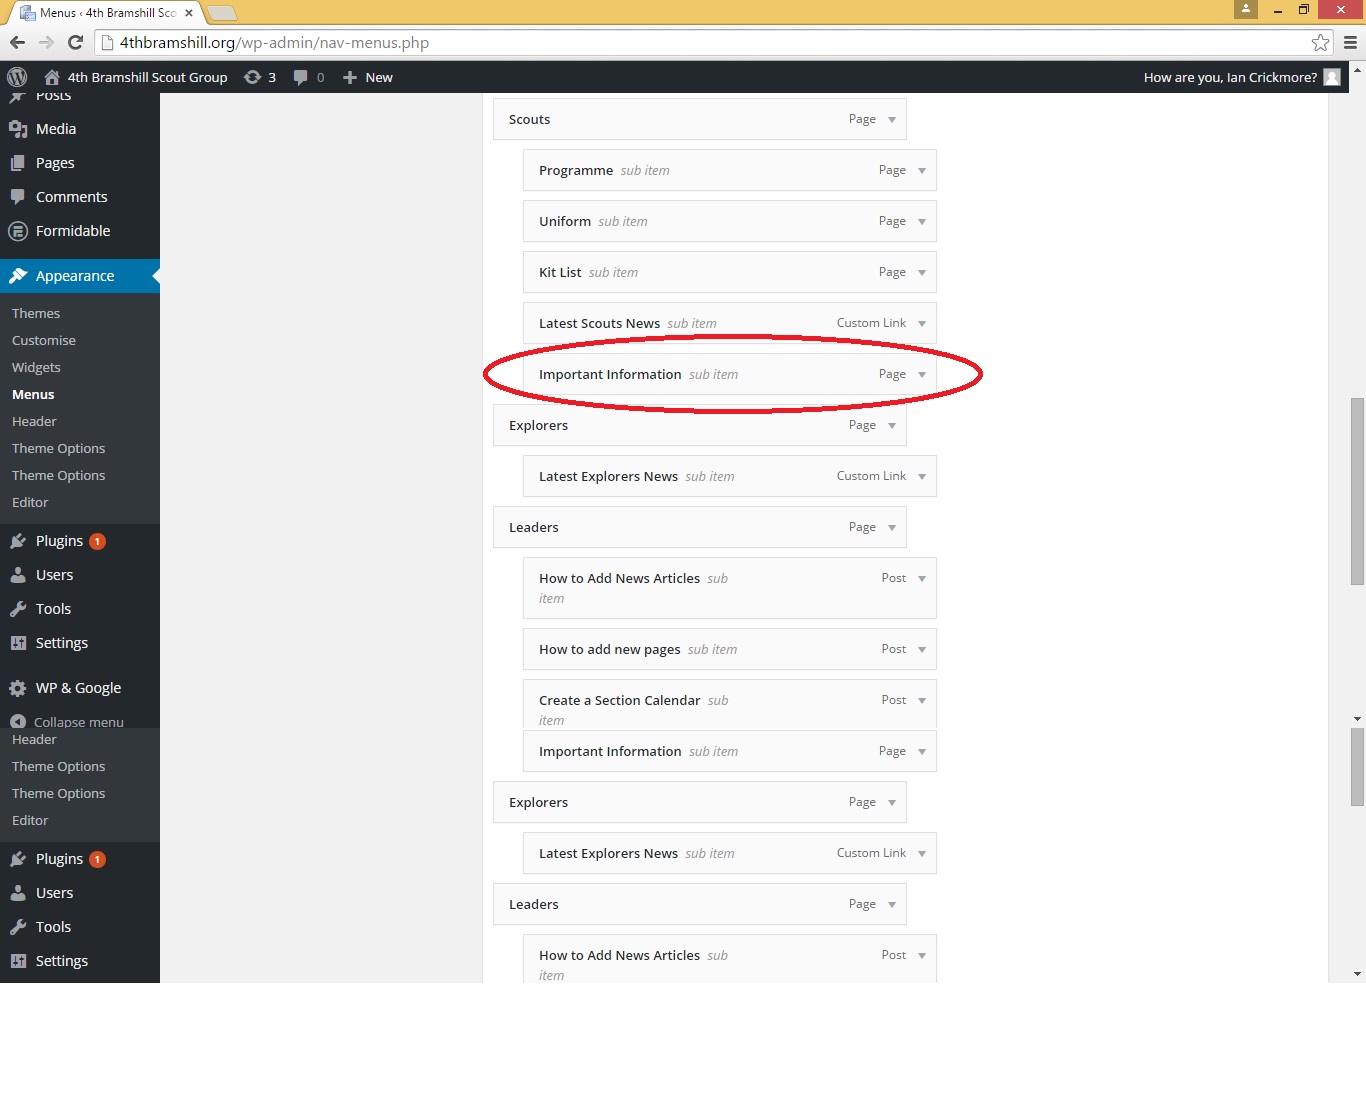
As we saved our page with “Scouts” as the Parent, we will find it in here called “Important Information” under “Scouts”.
Tick the tickbox and click the “Add to Menu” button.
You will now see an “Important Information” box appear at the BOTTOM of the Menu structure on the right.
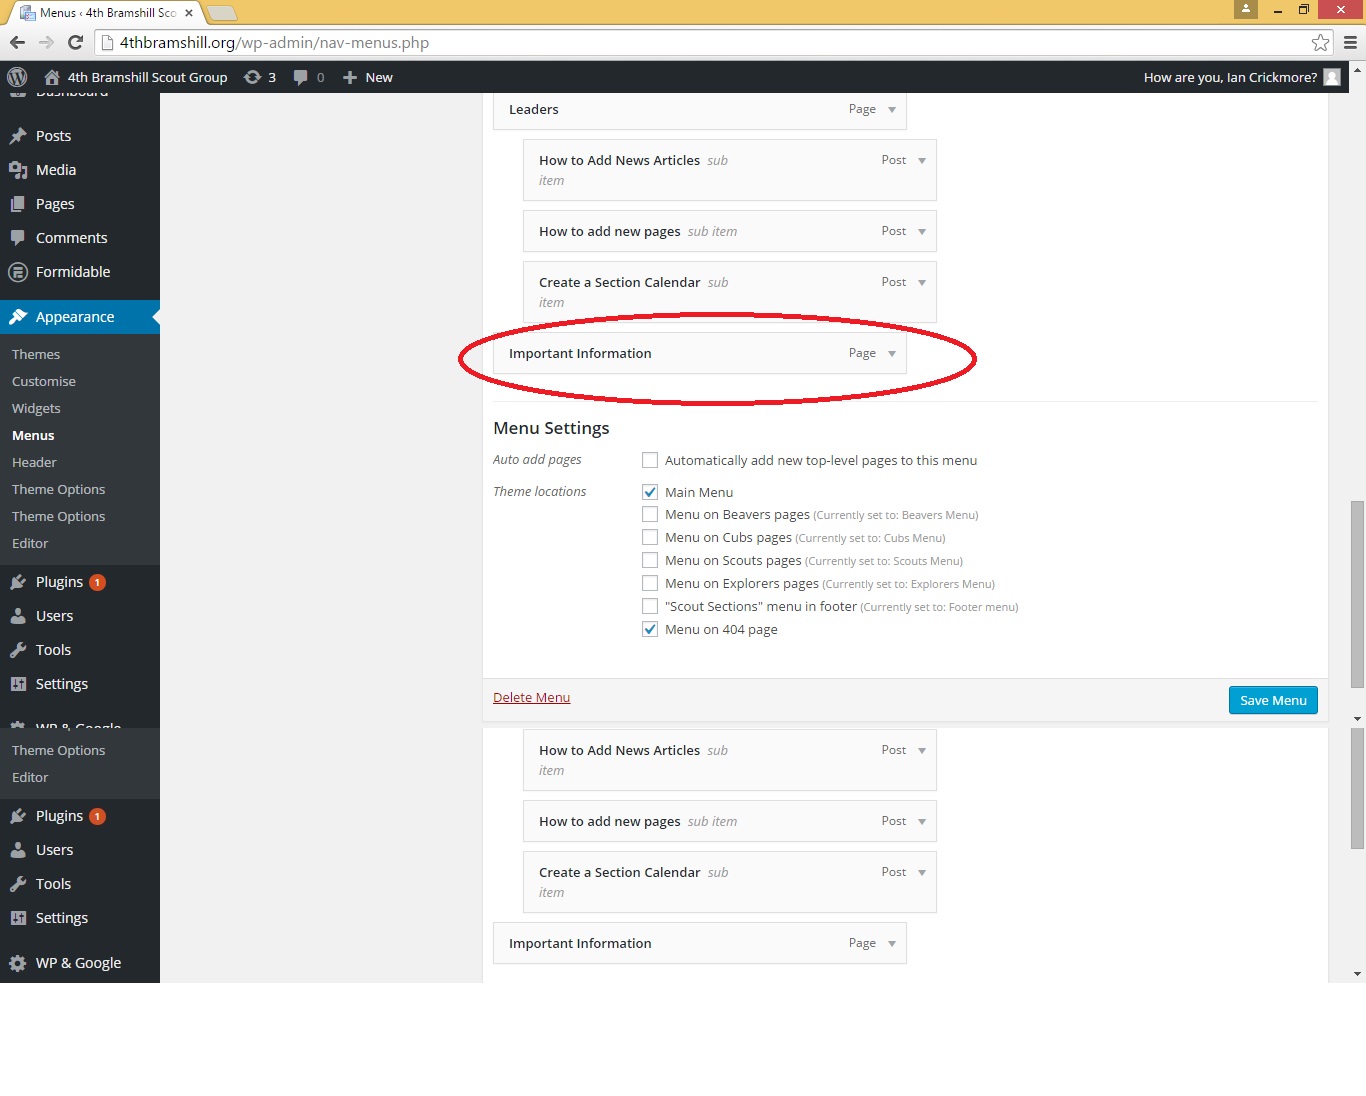
Click and Drag this to wherever you want this to appear in the menu system. In this case, underneath “Scouts” (Indented remember!) and underneath “Latest Scouts News”.
When it is in the right place, scroll back to the top (or bottom) and click the blue “Save Menu” button on the right.
Your menu item should now be Live on the Main Menu!
Repeat this entire process selecting (for this example) “Scouts Menu” and adding the menu item in the same way. This will add this page into the menu on the right on all Scouts Pages.
Congratulations. You have now created and published a page on this WordPress website!